This article will guide you on how to edit your existing troubleshooting points in Solvup.
How to edit existing troubleshooting points:
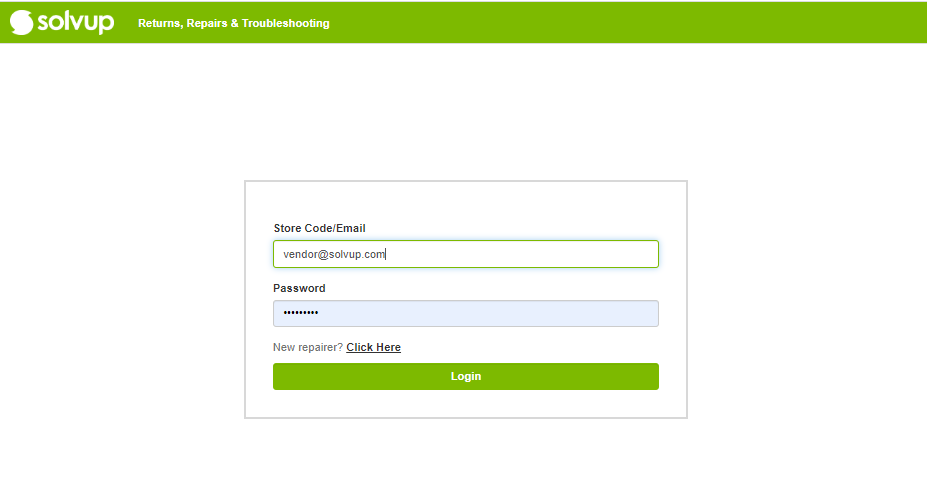
Step 1
Login https://apps.solvup.com
Enter your login credentials provided by Solvup.
If you have trouble logging in, email us at support@solvup.com
Step 2
Once logged in, click on Troubleshooting tab.

Step 3
You can search for troubleshooting points via the drop-down below. You can filter by SKU, Product Group, Brand, Sub Product Group, or Fault Code. Once you have selected your criteria, click on the search button.
*Click on clear to re-set your search criteria

Step 6
Add or delete applied product settings if needed by using the Delete and Add buttons.

Step 4
Locate your troubleshooting point and click on edit.

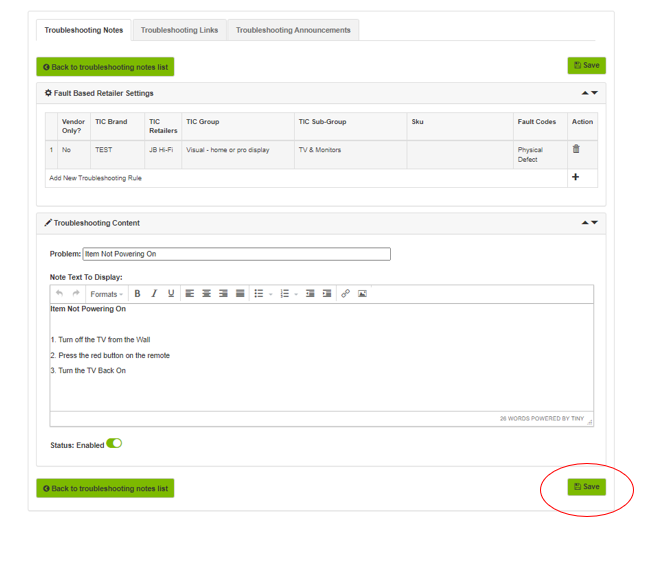
Step 5
Edit your Problem Title and Troubleshooting Point to ensure that your points are visible to the user, make sure the status button is enabled.

Step 6
Edit your Problem Title and Troubleshooting Point to ensure that your points are visible to the user, make sure the status button is enabled.
Step 7
Click the save button when done.
FAQ's
Q. How many troubleshooting points does the store see per case?
A. A maximum of 5 troubleshooting points will show per case.
Q. What is the difference between an announcement and a troubleshooting point?
A. Announcements on case creation will come before any troubleshooting point.
Q. How can I upload my troubleshooting?
A. You can request a troubleshooting template from Solvup via support@solvup.com and we can upload the information on your behalf, or you can upload the troubleshooting via your vendor profile, troubleshooting can be uploaded by brand, product group, or SKU.
Q. Can you enter troubleshooting for just 1 SKU?
A. Yes you can add troubleshooting for only one SKU
Please refer to How to Add Troubleshooting for more information.